(These next 1 link is an affiliate link which means I get a commission if you purchase through me.)
-
photos
- Ultimate Cardmaking Tool Kit
- matte presentation paper
- scalloped silver back foil tape
- thin chipboard
- black 3/8″ satin ribbon
- adhesive
- hole punch
- Collect photos of the person or event you are celebrating.
- Scan, crop and edit your photos using your favorite photo editing software.
- Print them on matte presentation paper.
- Cut them out and adhere cropped photos to chipboard (Cereal box cardboard is a great option) using adhesive.
- Trim the photos again.
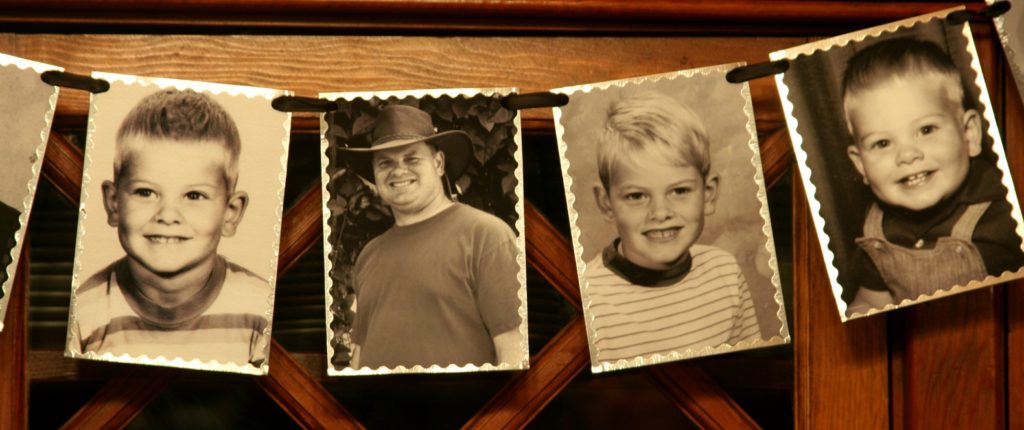
- Applied foil tape to the edges.
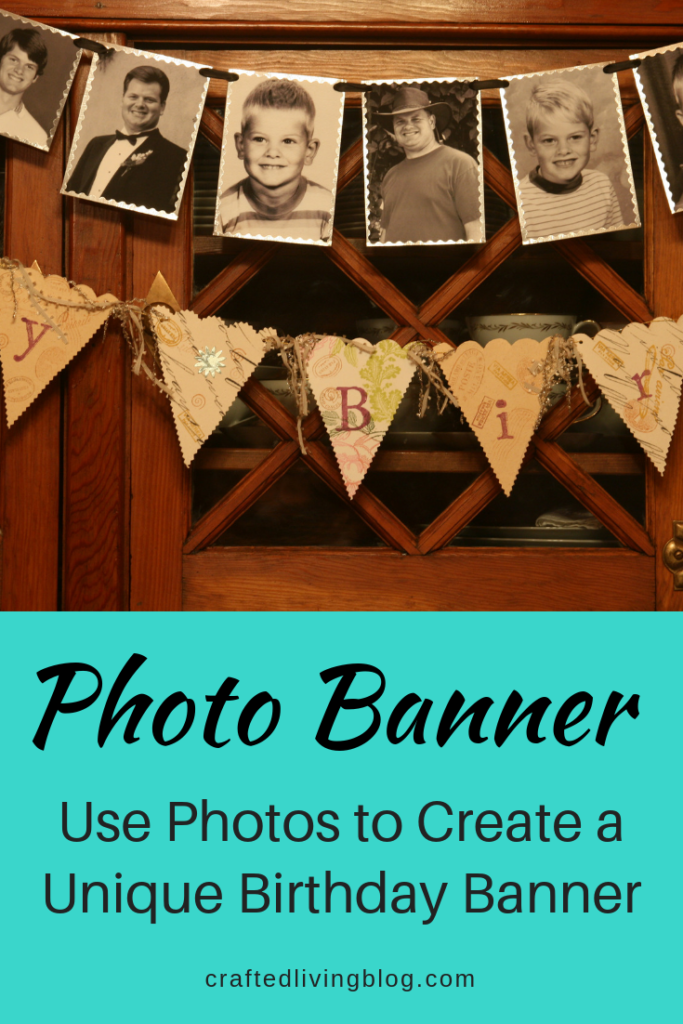
- Punch holes in the upper corners of each photo and string the ribbon.
- Hang your photo banner to celebrate .
I paired the photo banner with a Happy Birthday banner on loan from my mother. All the guests enjoyed looking at the banner and it added to the festive atmosphere. This banner idea would be perfect for celebrating anniversaries, birthdays, baby showers or any other event that is a remembrance of a special time. You are only limited by your imagination so create this unique photo banner and you will celebrate in style.
Happy crafting!
Editor’s note: This post was originally published in December 2012 and has been updated for freshness, accuracy and comprehensiveness.
Remember to Pin It
SaveSave
