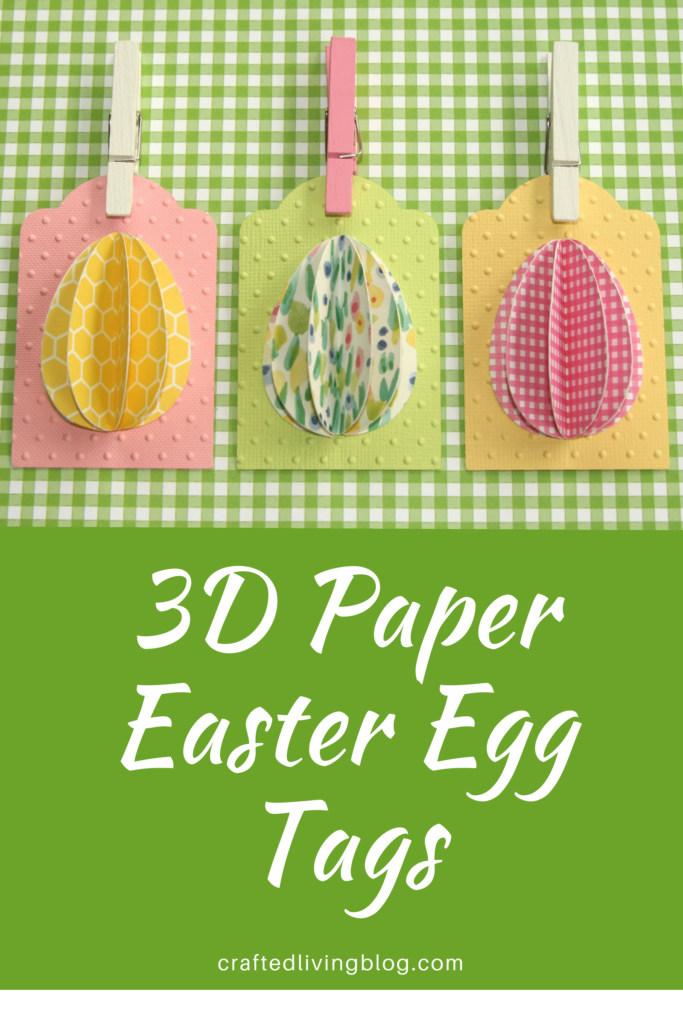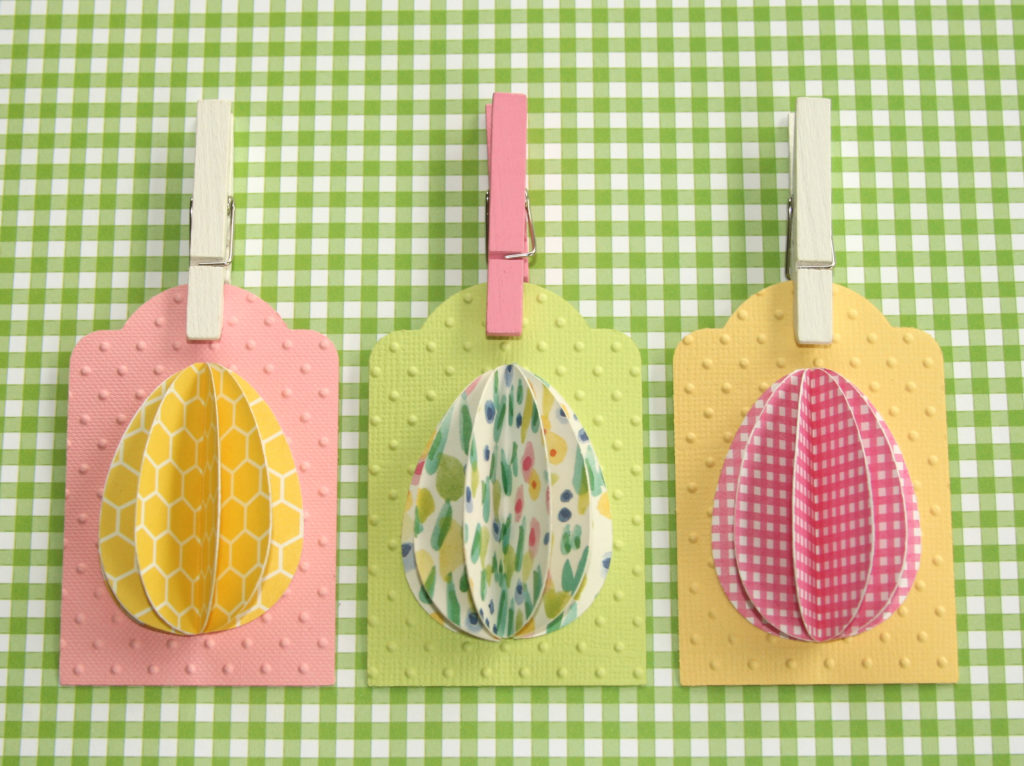
Easter will be here soon enough, but you still have time to create some diy projects like these 3D Paper Easter Egg Tags. You can add these tags to an Easter basket or treat bag and you might already have all the supplies on hand.
Gather the following tools and supplies to create the 3D Paper Easter Egg Tags:
(These next 5 links are affiliate links which means I get a commission if you purchase through me.)
- Ultimate Card Making Tool Kit
- Folk Art Festival cartridge
- tag punch
- Swiss dot embossing folder
- patterned paper
- colored cardstock
- repositionable adhesive
- Cut 5 eggs from Folk Art Festival cartridge or use image from Cricut Design Space at 2″ out of the same patterned paper. You only need the outline or solid shape of the egg to make the cuts. Fold each egg in half with pattern facing inwards. Crisp the edge with the bone folder.
- Adhere these 5 eggs back to back along the fold using repositionable adhesive.
- Punch out 2 tags from colored cardstock.
- Run one tag using the embossing folder through the Cuttlebug machine. Adhere the second tag to the back of the embossed tag using repositionable adhesive.
- Adhere the 3D egg to the front of the embossed tag using repositionable adhesive.
- Attach your 3D Paper Easter Egg Tag to your Easter treat or basket.
Grab your Easter goodies and add the 3D Paper Easter Egg Tags to complete the festive look for a basket or gift. You can add these egg tags to a place setting as well. The smooth paper backing on the tag allows you to write your personal message. For more decorating ideas for Easter and Spring, be inspired by the Easter Paper Rosette Favors, Spring Paper Flower Wreath, and Spring Curly Paper Wreath. And, if you need help writing sentiments for your Easter cards, I’ve got you covered. Download the holiday sentiments list for all of the major holidays.
Meet me back here for more spring goodness. Be creative!
Remember to Pin it!
SaveSave
