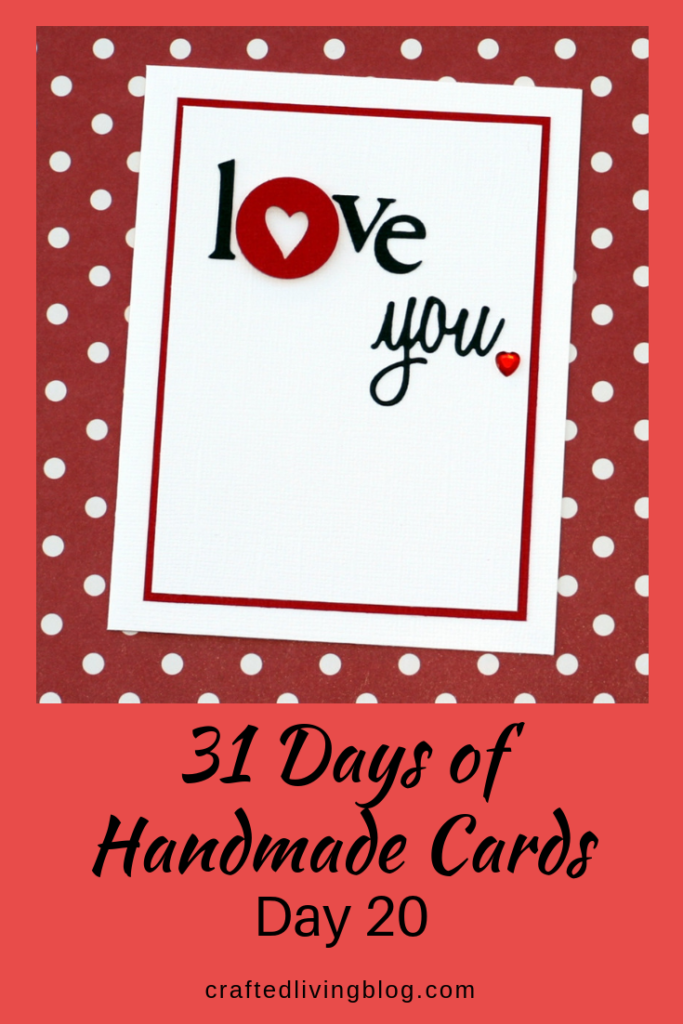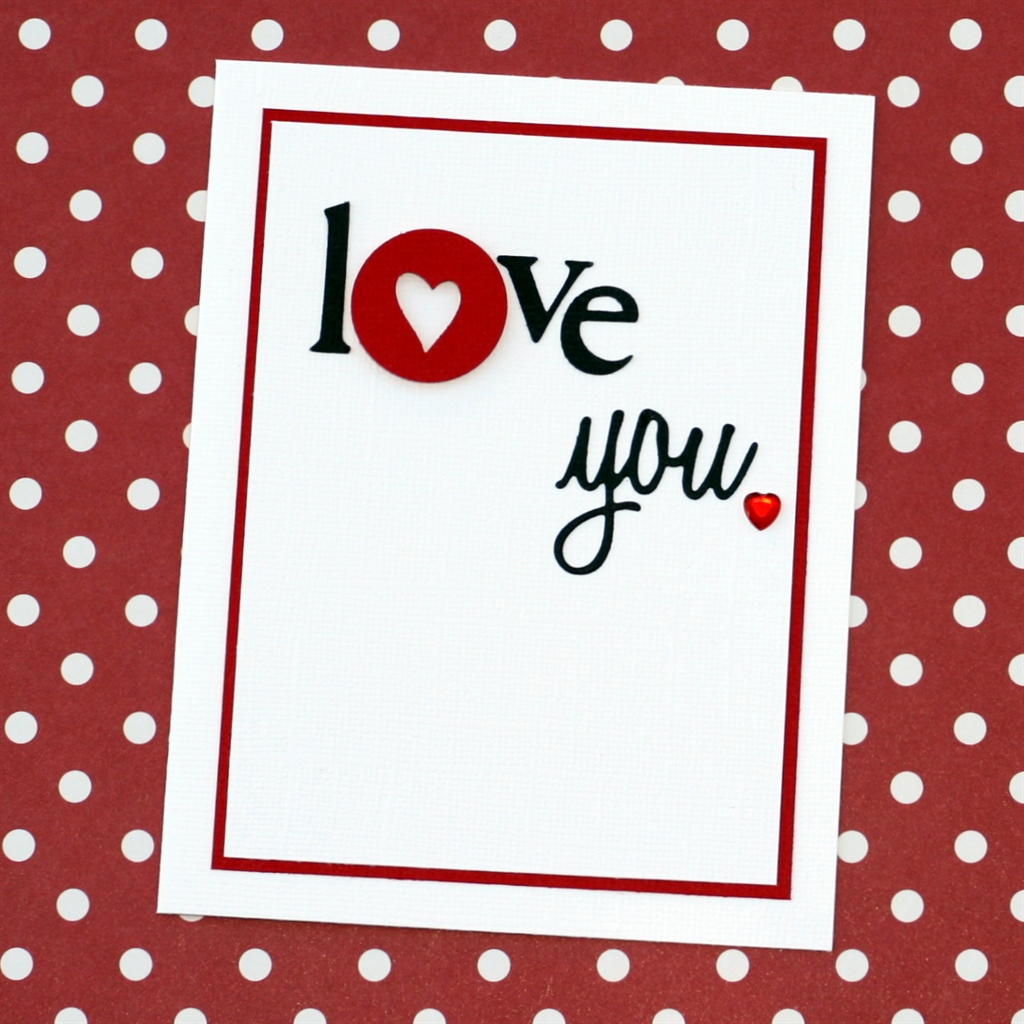
Gather the following tools and supplies to create the card for Day 20 of 31 Days of Handmade Cards:
(These next 10 links are affiliate links which means I get a commission if you purchase through me.)
- Ultimate Card Making Tool Kit
- Cricut Base Camp cartridge
- celebrate die set
- heart punch
- .75″ circle punch
- white cardstock and colored cardstock
- heart gems
- tape runner
- glue pen
- foam squares
- Cut the white cardstock to be 4.25″ high by 8.5″ wide. Cut the red cardstock to be 5″ high x 3.75″ wide. Cut another piece of white cardstock to be 5 1/8″ high by 3 7/8″ wide.
- Fold the larger piece of white cardstock in half lengthwise and use the bone folder to crisp the edge.
- Adhere the red panel to the white cardstock panel. Adhere both pieces together to the card.
- Cut lve using the Base Camp cartridge from black cardstock at 1″.
- Punch out the heart using red cardstock. Center the heart inside the circle punch and punch out a circle.
- Cut you using the die and Cuttlebug.
- Adhere lve using the glue pen leaving room for the “o”. Using your non-stick scissors, cut the foam squares into smaller pieces and adhere to the back of the red circle. Add to the card.
- Adhere you using the glue pen and add the heart gem.
- Write your own sentiment or download the sentiments freebie below and mail Day 20 of 31 Days of Handmade Cards.[mailerlite_form form_id=2]
Red, black and white is a classic color combination that I always enjoy using. It is graphic and bold and red is my favorite color. How can I not love it? The designer secret is to use the red and black sparingly so they pop against the white as with Day 4 and Day 15. This card can also being interpreted in other color ways. Try it and see what color combination you come up with. Meet me back here for Day 21 of the 31 Days of Handmade Cards. Be creative!
Remember to Pin it!
SaveSave
SaveSave
SaveSave
SaveSave
SaveSave
SaveSave
SaveSave
SaveSave
SaveSave
SaveSave
SaveSave
SaveSave
SaveSave
SaveSave
SaveSave
SaveSave
SaveSave
